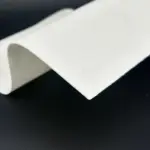
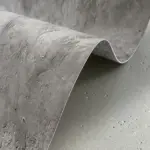
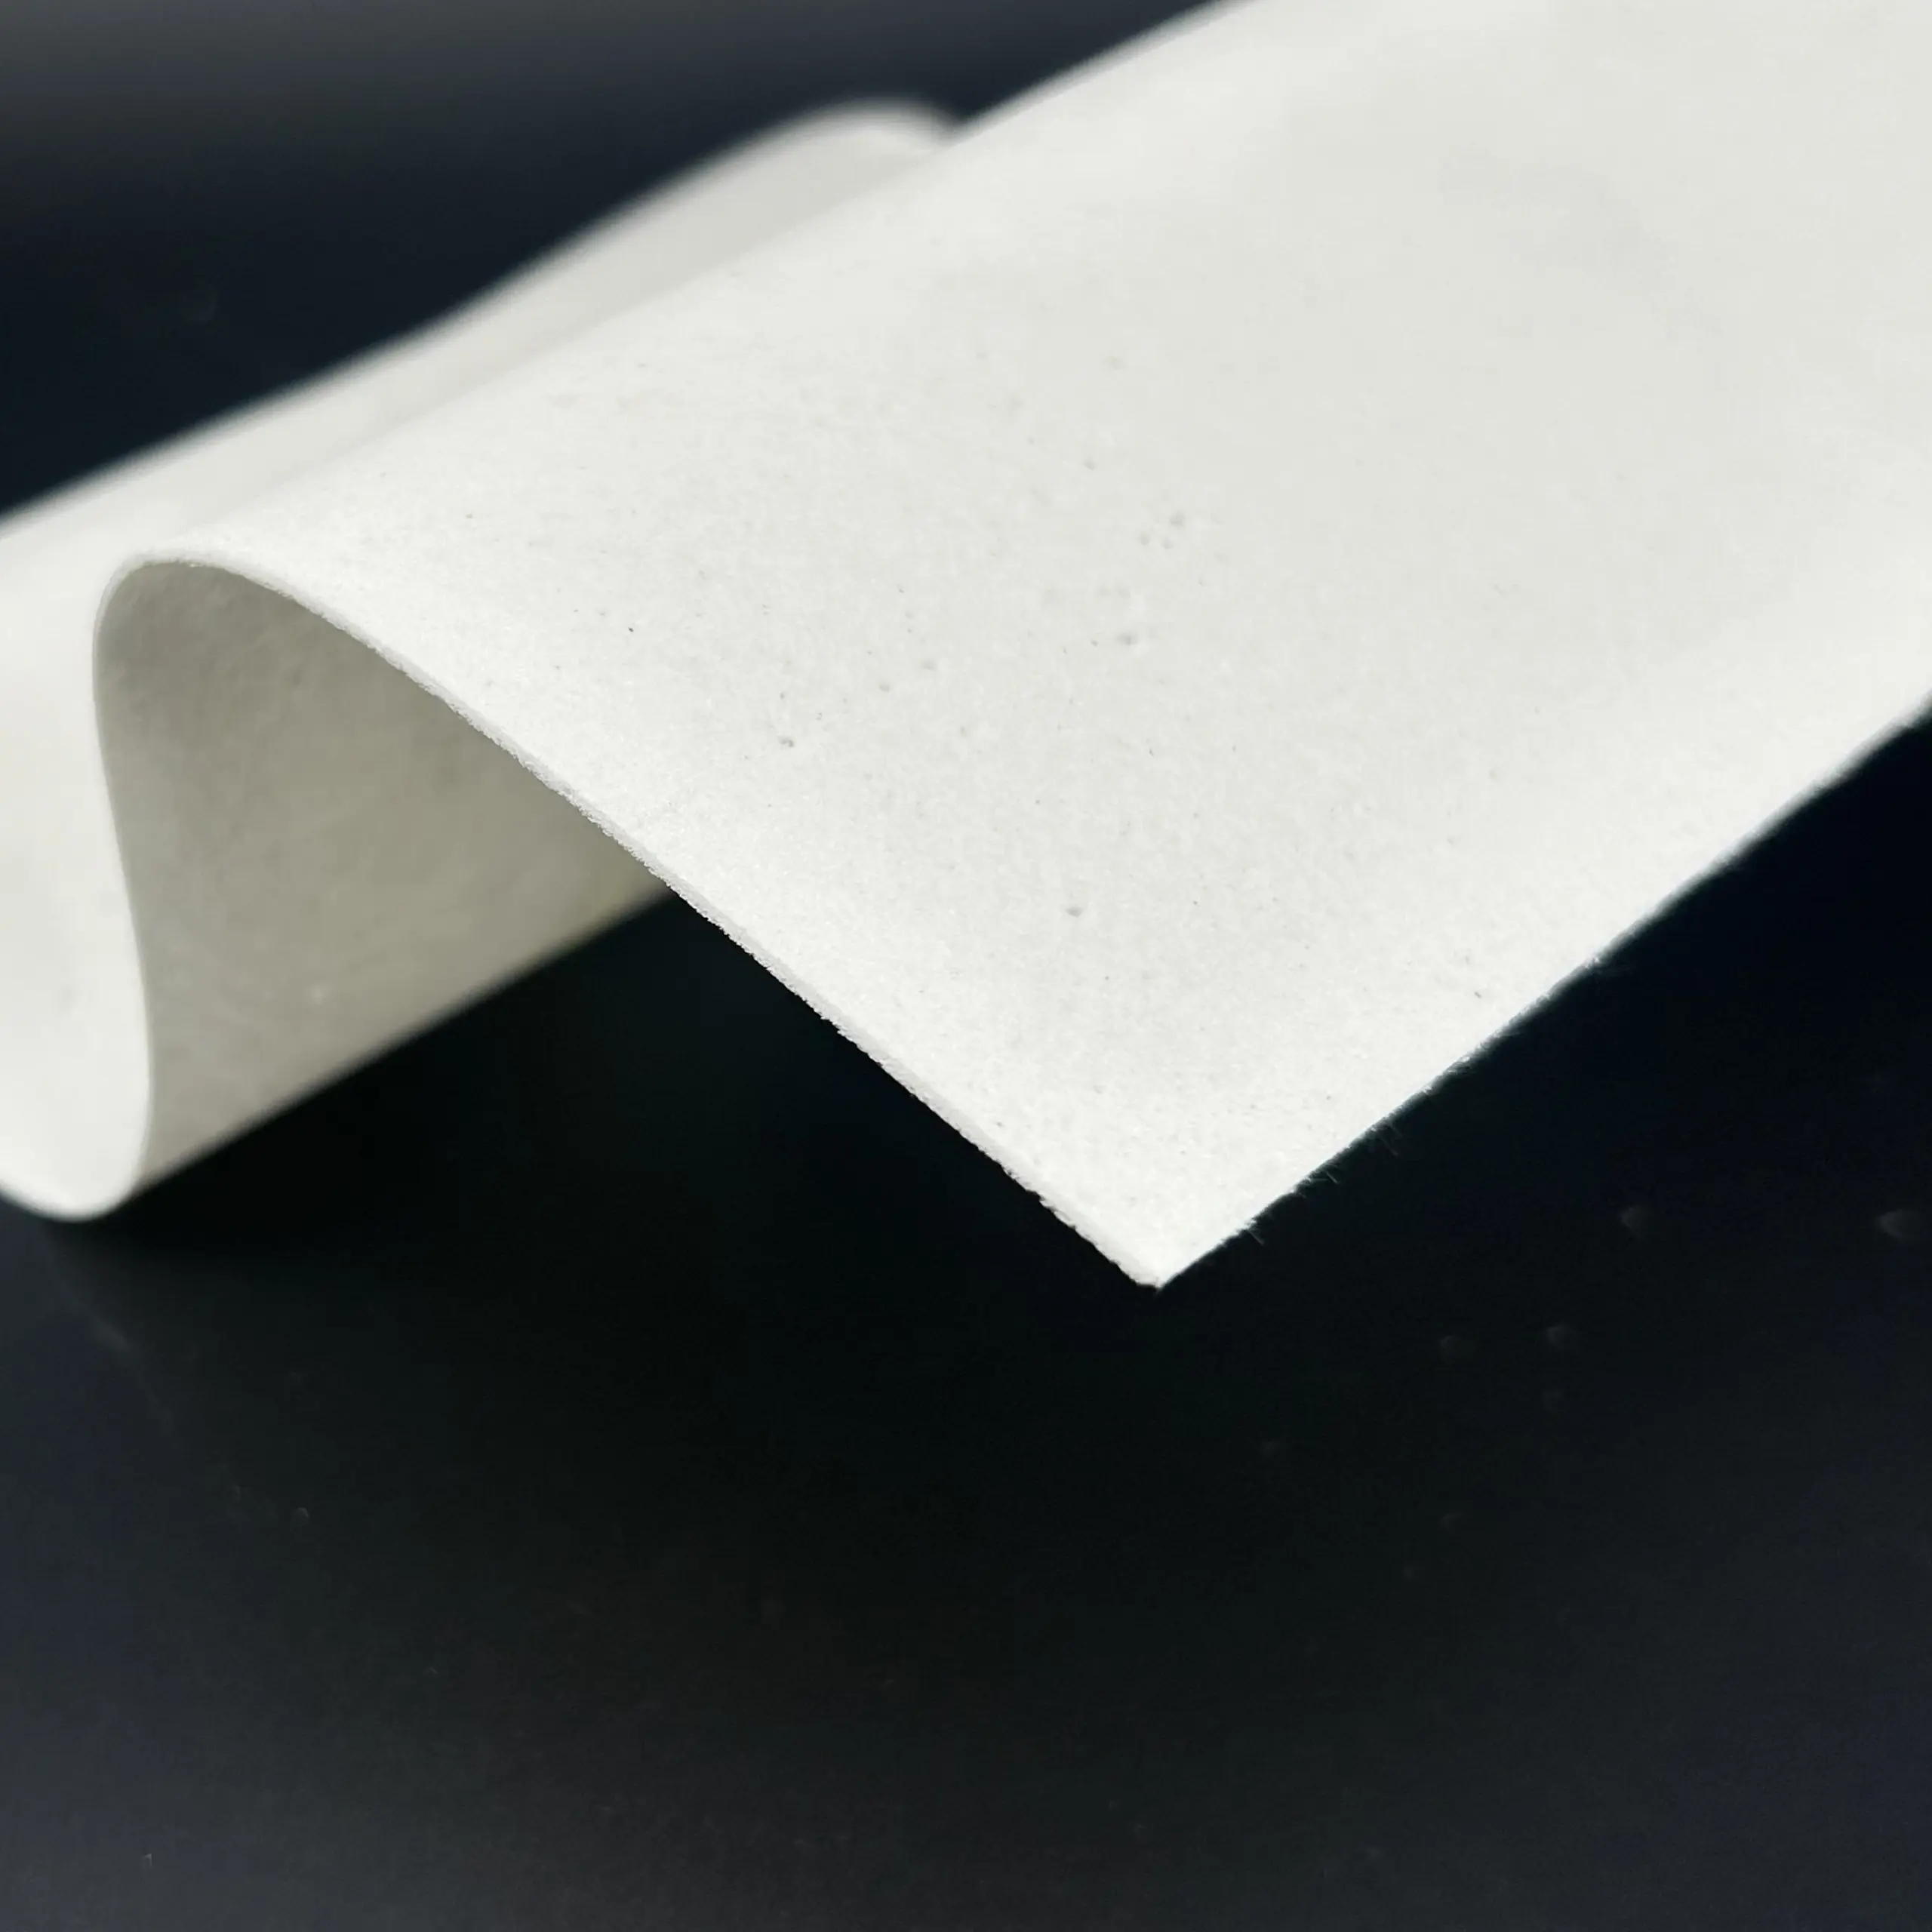
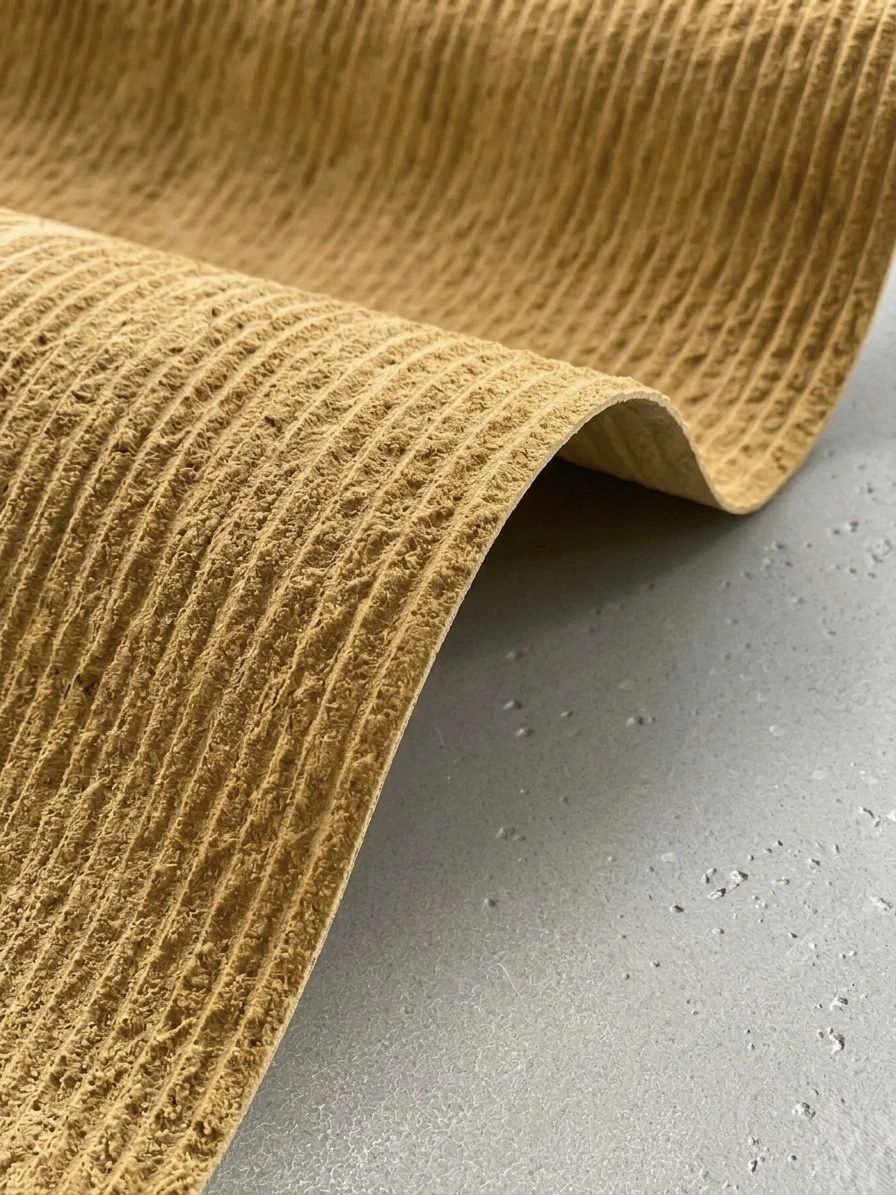
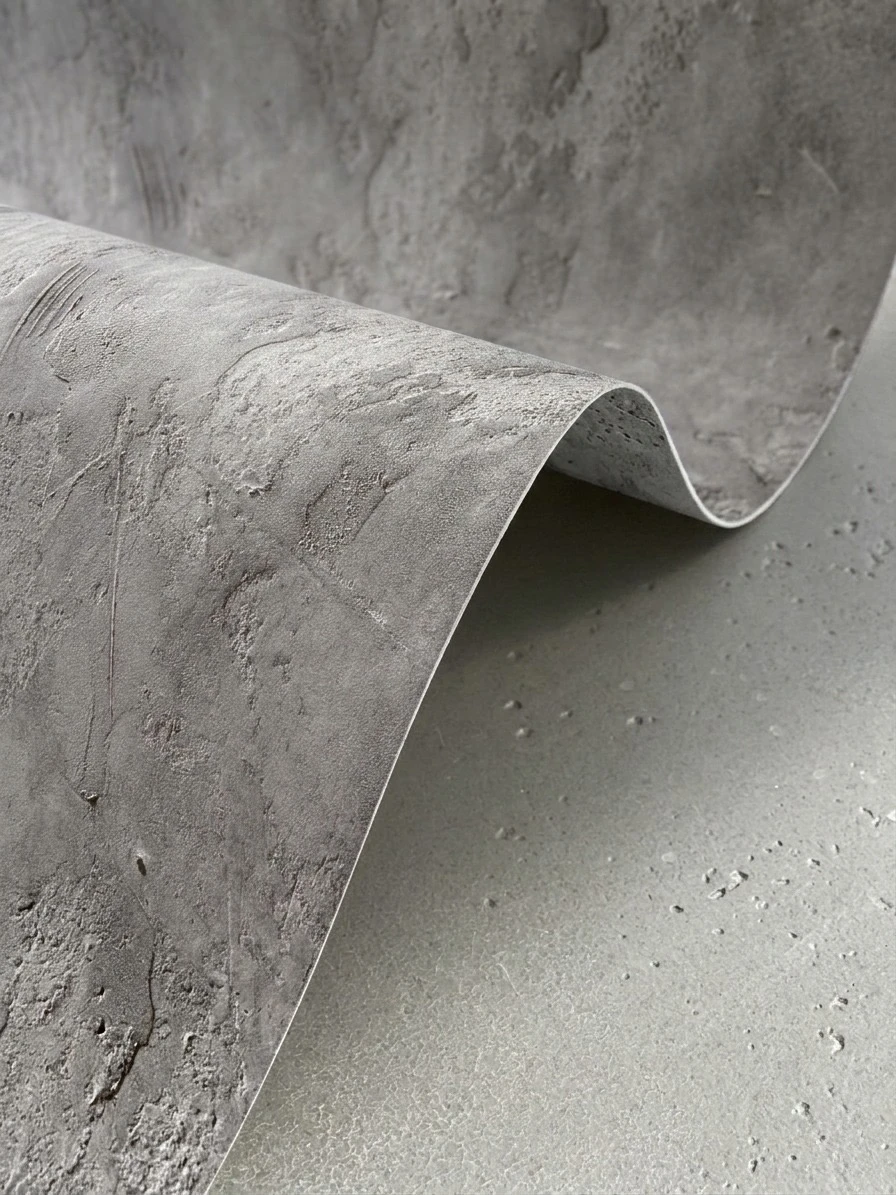
FLEXIBLE STONE
CRAFTED FOR
MODERN ARCHITECTURE
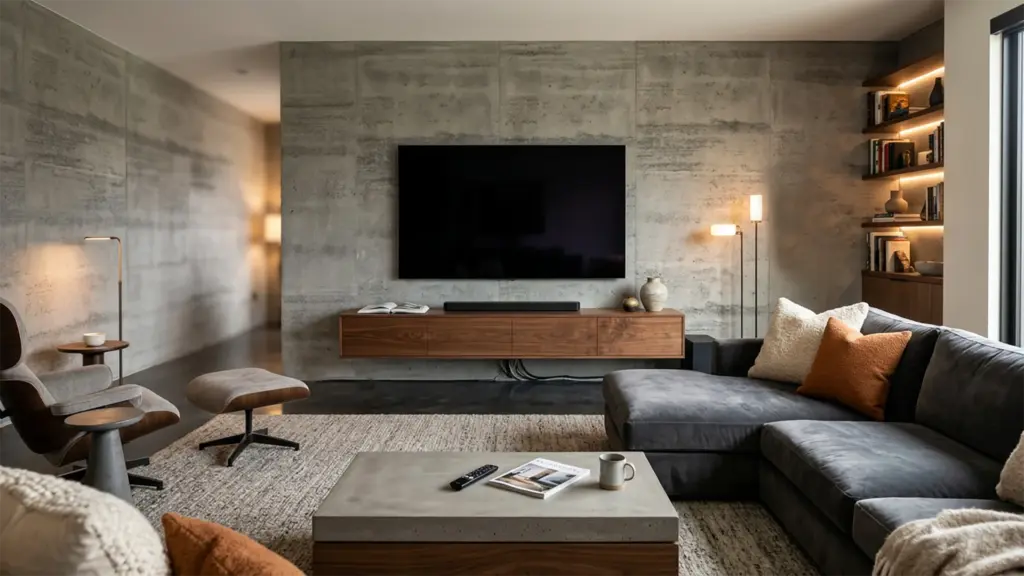
Designed for efficiency and durability, XSTONE mineral veneers provide the visual depth of natural stone with significantly reduced weight, installation time and structural constraints.
WHERE INDUSTRIAL PRECISION
MEETS NATURAL TEXTURE
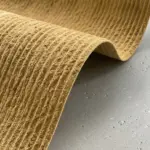
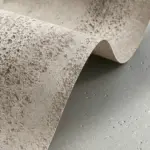
Manufactured through a three-phase process blending mineral formulation, handcrafted application and precise pigmentation, XSTONE offers a new generation of flexible architectural surfaces.
ENGINEERED
MINERAL SURFACES
SHAPED BY HAND
XSTONE flexible rolls combine recycled mineral composition, controlled industrial processing and manual texturing to deliver lightweight, high-performance wall surfaces with authentic stone aesthetics.


ROL|ロールミネラルベニア
SKU:
ROL
XSTONEフレキシブルロールは、プロフェッショナルな内壁用途のためにロール形式で供給される軽量のミネラルベニアシートです。このシステムは、ミネラルポリマー表面層とファイバーグラス裏打ちを組み合わせたもので、A2防火基準に達し、リサイクルミネラルを90%含み、湿気の多い場所や酷使される環境用にオプションでシーリングが可能で、クリーンで管理された施工ができるように設計されています。
XSTONEフレキシブルシートの利点
XSTONEフレキシブルロールは、モダンなインテリア建築のための新世代のミネラル壁面として位置づけられています。XSTONEフレキシブルロールパネルの中核となる市場優位性は、従来の石材クラッディングよりも輸送、取り扱い、施工がはるかに容易な、軽量で折り曲げ可能なシート形式と本格的なミネラル外観の組み合わせです。
- フレキシブルなロール形式により、迅速なハンドリングと現場での位置決めが容易。
- 表面重量は2kg/m²で、施工の手間と構造への負荷を軽減。
- よりクリーンで実用的な設置ワークフローを実現するダストコントロール処理。
- 一度適切に密閉されれば、耐久性があり、汚れにくい。
- 室内環境用の低排出ガスで臭気のないポジショニング。
- 耐紫外線性、低発煙性、バスルームやキッチンなどの湿気の多い場所にも適している。
| サイズ | 3000 x 1000 mm; 特注サイズも承ります。 |
|---|---|
| 厚さ | 2 – 2.5 mm |
| 重量 | 約2 kg / m² |
| 配信形式 | ロール |
| 構成 | 90%リサイクル大理石パウダー+コポリマー+ファイバーガラス |
| 火災格付け | A2-s1-d0 |
DURABLE
XSTONE roll is resistant to staining and scores with high resilience.
LOW-EMISSION
Our products meet regulatory requirements for Volatile Organic Compound (VOC) emissions. Rated A+, our inert products do not affect air quality.
EASY CARE
When sealed the surface makes the surface easy to clean and maintain.
ODOUR NEUTRAL
Please do not disturb: no unpleasant odours.
UV-RESISTANT
Ready for summer: XSTONE Roll has a high light fastness and an excellent UV restistance.
FIRE RESISTANT
Classify A2-s1-d0, even in case of fire: Low smoke density. Escape routes remain more visible.
SUITABLE FOR DAMP AREAS
In the kitchen or bathroom: XSTONE flexible roll shows its best side in every situation
UNBREAKABLE
Scratch-resistant and unbreakable.
MINERAL VENEER
Made from 90% natural stone powder, a copolymer binder and a fibreglass backing. Eco-sustainable and ecological, 95% reduction in CO2 emissions.
LIGHTWEIGHT AND EASY TO INSTALL
Easy to cut and simple to shape, XSTONE installs quietly and precisely. No noise, no dust : just a fast, clean transformation, even while spaces remain in use.
Wall Design
Floor
Facade
Ceiling
Worktop & Splashback
Laminate
Furniture
Door
Fence
Retail Design
Hotel
Bar & Restaurant
Office
Residential spaces
Wet rooms
Technical Characteristics & Manufacturing Technologies
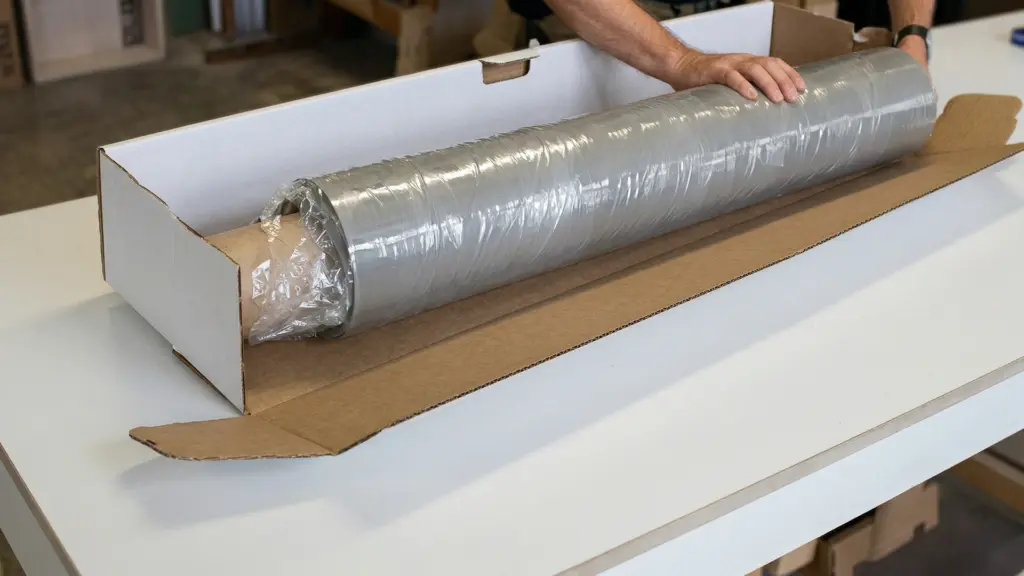
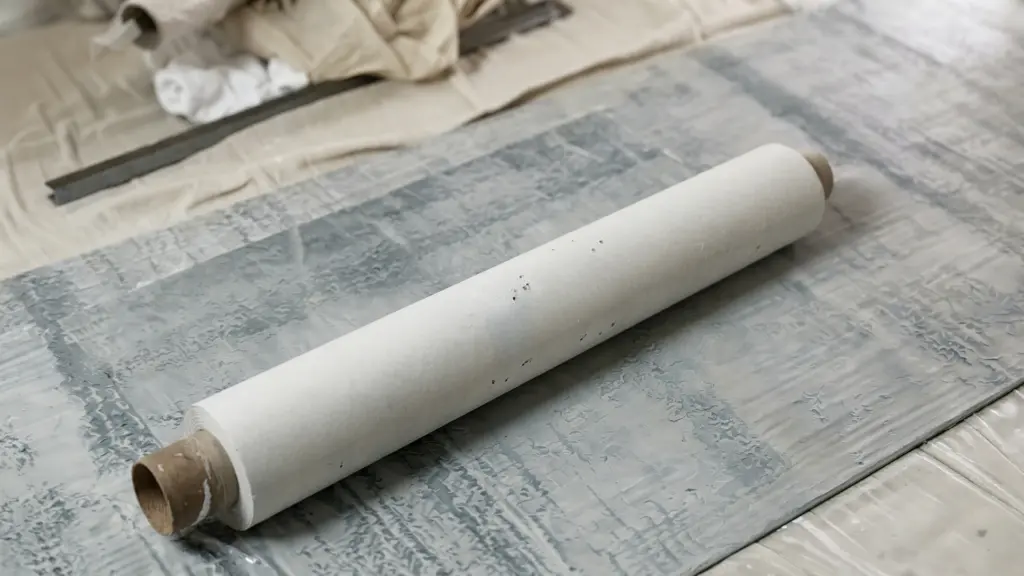
XSTONE flexible mineral veneer is engineered as a high-performance layered system, combining advanced material formulation with architectural practicality. Its visible surface consists of a mineral-polymer coating layer with a thickness of approximately 2–3 mm, bonded to a fibreglass backing that ensures both flexibility and dimensional stability during installation. The overall product thickness ranges between 2 and 2.5 mm and is supplied in a standard roll format of 3000 × 1000 mm.
The manufacturing process is based on a controlled multi-phase production system that combines industrial precision with handcrafted surface finishing to achieve both consistency and natural variation.
Phase 1 – Mineral formulation and homogenisation
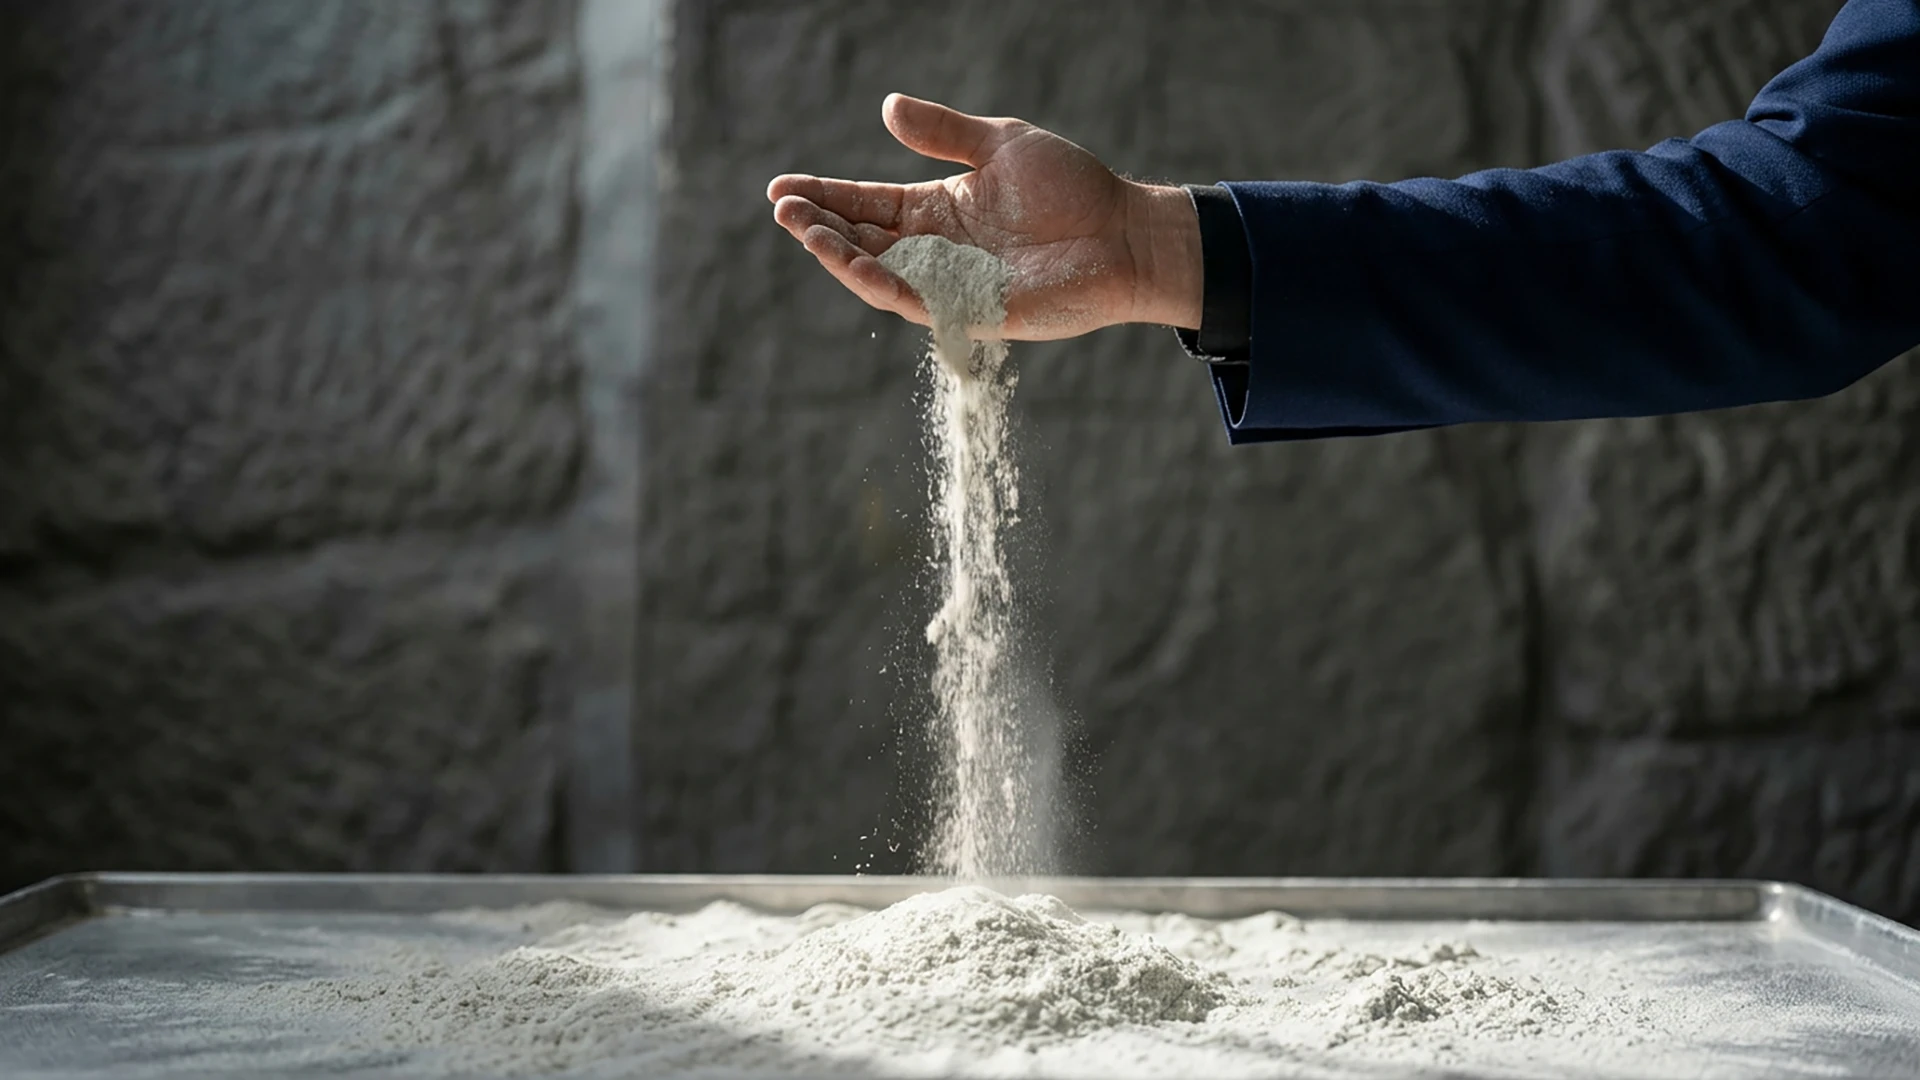
A blend of recycled stone powder, primarily marble-based, copolymers and water is processed in a rotary mixing tank to create a homogeneous mineral compound. This step ensures consistent viscosity, optimal binding properties and overall material stability.
Phase 2 – Manual application and texturing
The mineral compound is then manually applied using a spatula onto flat production tables or silicone moulds. This handcrafted process allows for the creation of natural textures and subtle irregularities, giving each sheet a unique mineral expression while maintaining strict control over thickness and performance.
Phase 3 – Surface pigmentation and finishing
Mineral pigments are applied either manually with rollers or through high-definition printing technologies, depending on the required aesthetic. This enables both artisanal finishes and highly controlled visual outcomes, ensuring chromatic consistency across production while preserving the authenticity of natural stone.
This hybrid production methodology, merging industrial formulation with manual craftsmanship, ensures a balance between technical reliability and aesthetic depth, positioning XSTONE as a distinctive solution within contemporary architectural materials.
Eco-Durability, Sustainability & Certifications
Sustainability is a core pillar of our approach at XSTONE. Our flexible mineral sheets are manufactured using up to 90% recycled mineral content, primarily sourced from marble quarry waste, allowing us to significantly reduce the need for virgin raw material extraction.
- Up to 90% recycled mineral content integrated into our material formulation
- A production process designed to optimise water and energy consumption
- Lightweight roll format reducing CO₂ emissions by up to 95% compared to traditional stone transport
- Recyclable end-of-life positioning
- Low-emission formulation aligned with A+ VOC standards
- A2-s1,d0 fire classification with low smoke development
Our solutions are also developed to contribute positively to environmentally certified projects such as BREEAM and LEED.
Installation Techniques
The installation of XSTONE rolls depends on the project, its intended use, and the substrate. This section describes a standard wall installation. For other installation methods, please refer to the various brochures available.
INSTALLATION GUIDE FOR XSTONE WALL
- XSTONE veneer are flexible mineral surfaces, 2–2.5 mm thick, delivered in rolls of 3000 x 1000 mm. Lightweight, authentic, and easy to handle, they allow you to transform a wall quickly while achieving a premium mineral finish.
- Follow the steps below carefully for a successful installation.
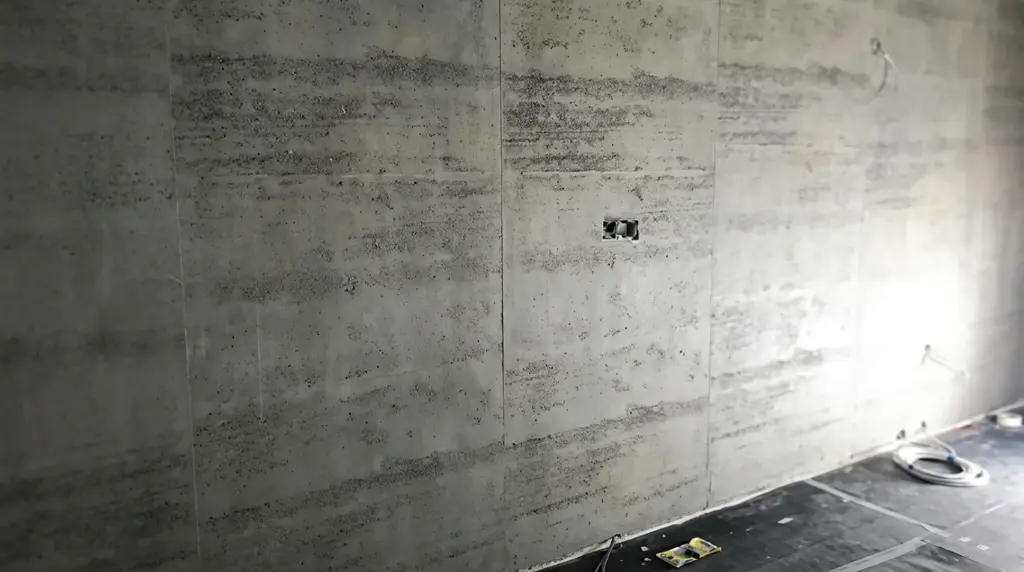
STEP 1 — SURFACE PREPARATION
- A professional result always begins with proper preparation.
- Before installation, ensure that the substrate is dry, stable, clean, smooth, and dust-free. Any old wallpaper, loose coatings, or adhesive residues must be completely removed. Holes, cracks, and uneven areas should be filled using an appropriate filler, ideally gypsum-based.
- If the surface is porous or difficult, applying a primer is recommended to ensure optimal adhesion.
- The recommended working temperature is above 18°C, with an absolute minimum of 15°C. In colder conditions, a heat gun may be used briefly on low power for no more than 10 seconds in one spot to avoid damaging the surface.
- Before installation, unroll the veneer and allow it to acclimatize flat.
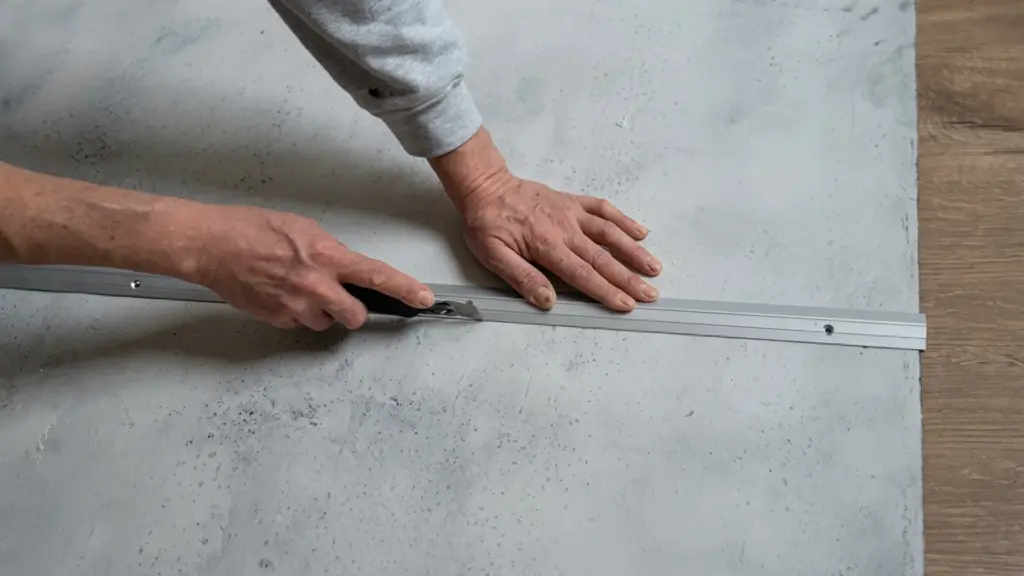
STEP 2 — PLANNING AND CUTTING
- Careful planning ensures a clean and balanced result. Consider the position of windows, doors, and corners before cutting. Avoid placing joints directly above openings and ensure the layout prevents narrow finishing strips at the end of the wall.
- The sheets can be cut easily using a standard cutter knife. For thicker areas or more complex cuts, gentle heating will make the material easier to work with. Precision during this stage guarantees a refined final appearance.
STEP 3 — BONDING
- The choice of adhesive depends on the surface and configuration.
- For standard wall installation on sealed surfaces, a heavy-duty wallpaper adhesive is recommended. It provides strong and reliable bonding.
- Apply the adhesive evenly to both the wall and the back of the sheet. Allow it to become slightly gel- like before positioning the material.
- For curved surfaces, contact adhesive is preferable. For pressed panels, PVA adhesive may be used.
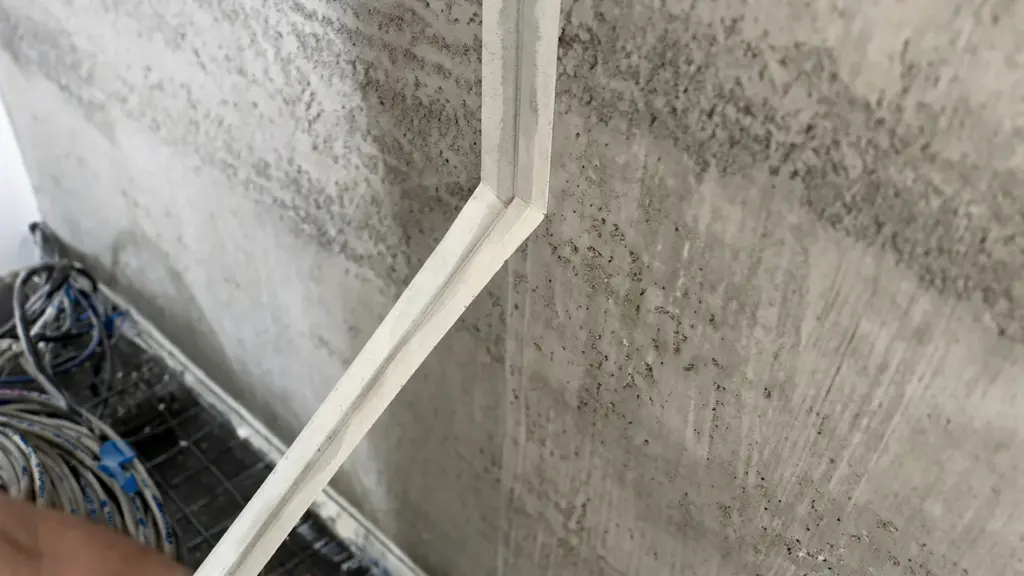
- For 90° corners, you may either create a mitre cut and finish with joint paste; or fully fold the material if using contact adhesive. In this case, gentle heating helps prevent cracking. Heat must always be applied cautiously and briefly.
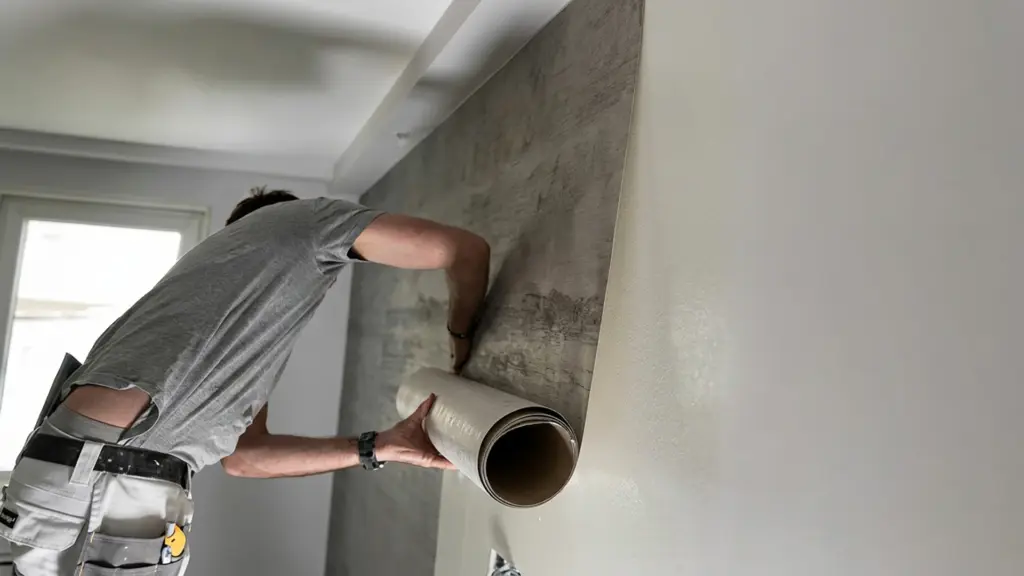
STEP 4 — INSTALLATION
- Begin at the top of the wall. Position the sheet carefully, ensuring correct alignment, and allow it to roll down naturally.
- Using a roller or wallpaper applicator, apply even pressure across the surface to eliminate air pockets and secure full adhesion. Trim excess material at the bottom using a cutter knife.
- Pass over the surface again with a pressure roller or sponge to ensure complete bonding. Repeat the process until the entire wall is covered.
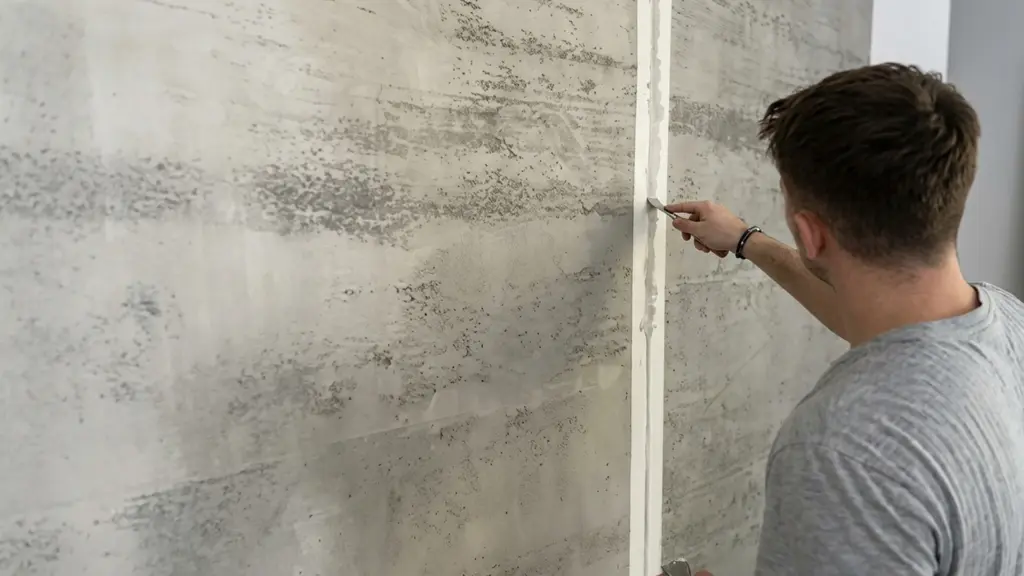
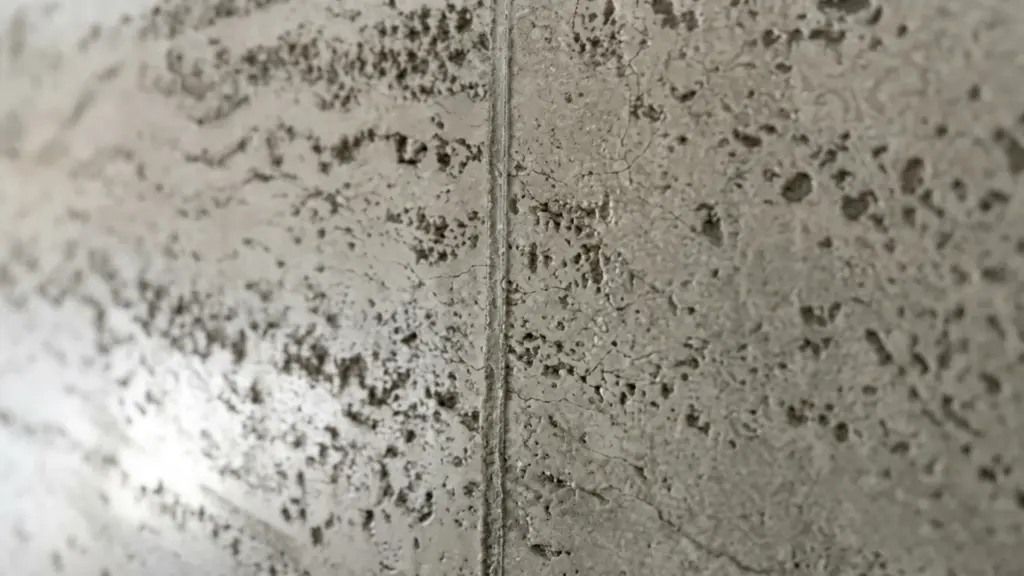
STEP 5 — JOINT FILLING
- Each installation requires precise joint treatment to create visual continuity.
- Apply masking tape along the joints, leaving approximately a 5 mm gap. Apply the supplied joint filler using a spatula. Remove the masking tape immediately while the filler is still wet.
- This method ensures clean, professional transitions between sheets.
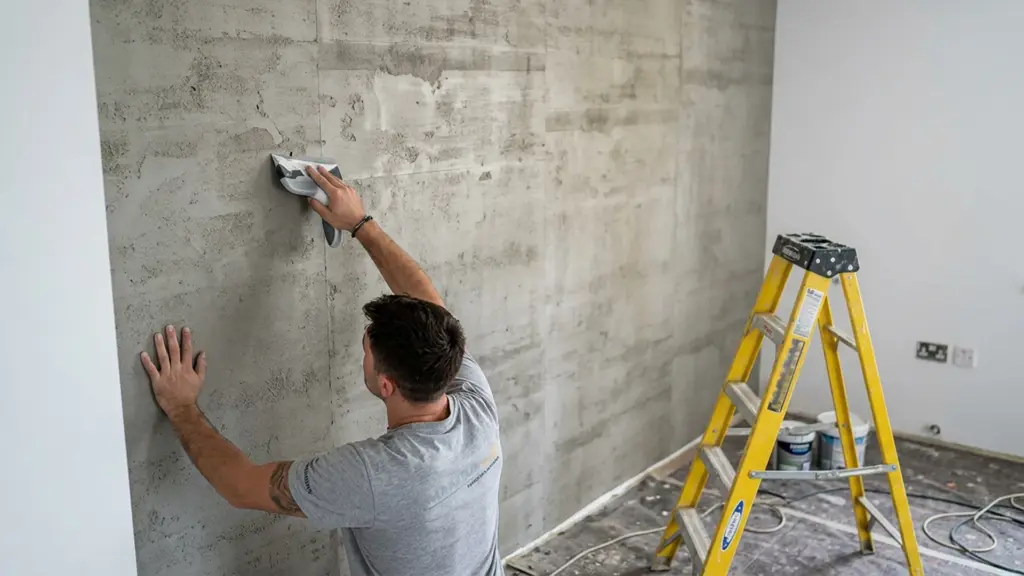
STEP 6 — LIGHT SANDING
- Once the joints are dry, lightly sand the surface using a 240-grit foam pad. This step harmonizes the surface, reduces minor raised areas, and enhances the natural mineral character.
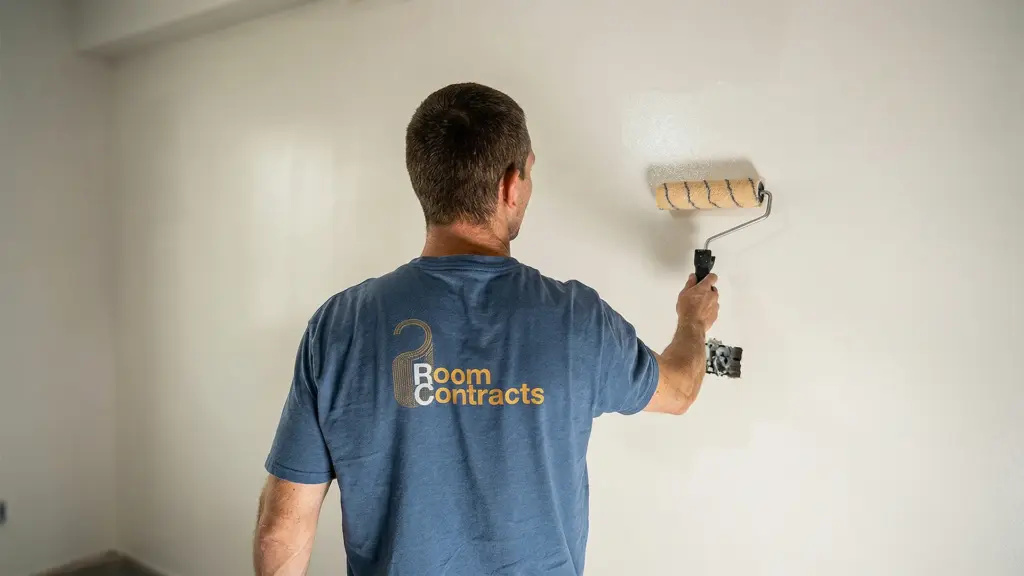
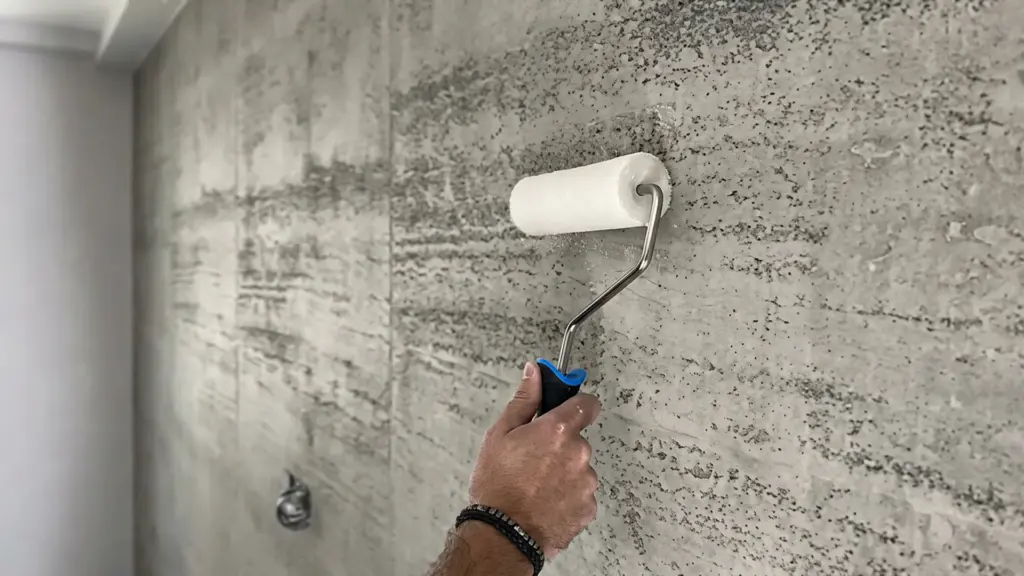
STEP 7 — SURFACE PROTECTION
- In wet zones or high-traffic environments, applying a dedicated PU sealer is essential.
- The sealer should be applied evenly with a roller or brush over the entire surface. Recommended drying time is approximately 6 to 12 hours.
- This protective layer improves resistance to moisture, stains, and wear.
STEP 8 — OPTIONAL SURFACE TREATMENTS
- Depending on the selected texture, additional treatments may be applied.
- Plain colors can receive a water-based wash to harmonize joints and surface tones.
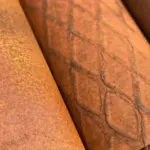
- Rust finishes, made from real iron, may be protected with a diluted PVA spray, although a test is recommended as color changes may occur. Black Slate or Fire Plank finishes can be unified with a matt black wash for a fully harmonized look.
STEP 9 — INSTALL FURNITURE
STEP 10 — COMPLETION
- Your space is now transformed. You have achieved the authentic appearance of real mineral stone, without the structural weight or complexity of traditional stone materials.